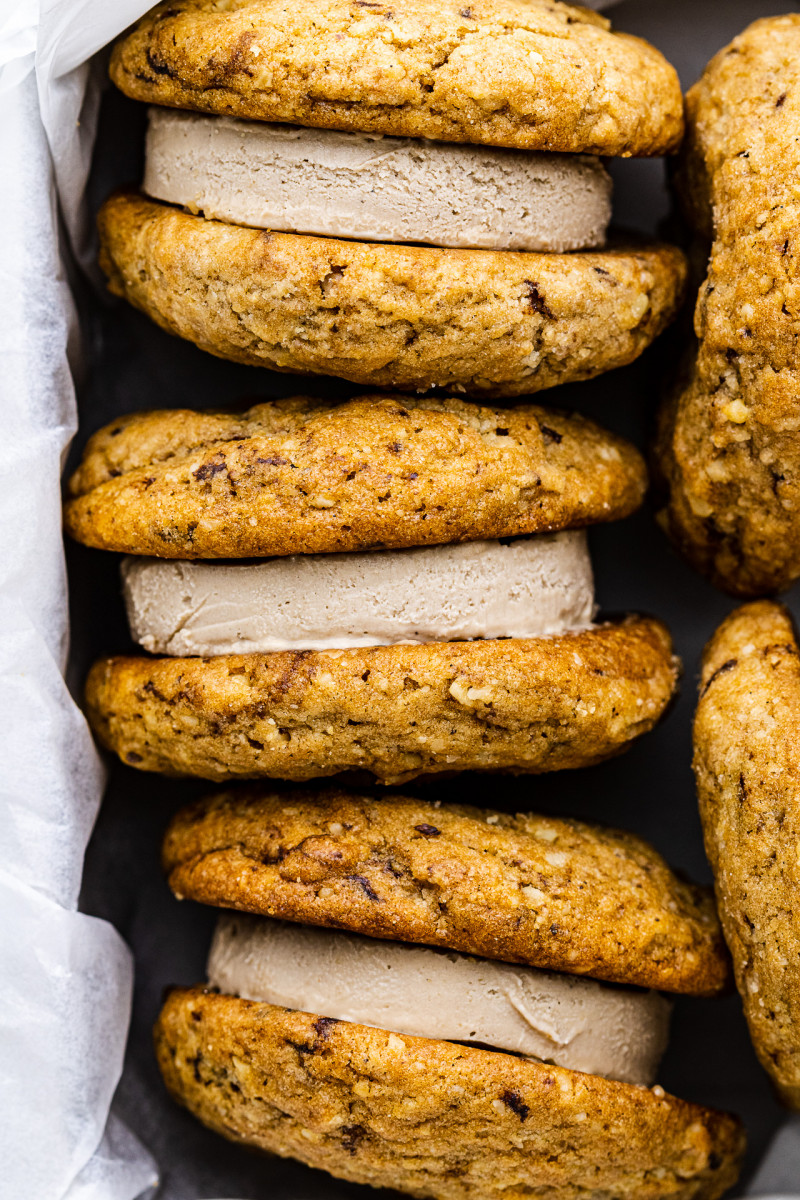
Coffee ice-cream sandwiches (vegan)
Coffee ice-cream sandwiches (vegan)
My today’s recipe for coffee ice-cream sandwiches is inspired by my favourite drink. I adore a good cup of coffee, especially now that I drink coffee for its flavour not for its ability to jolt me awake. Ever since my life collided with that lovely stage of woman’s life known as perimenopause I have had to befriend decaf but once the withdrawal headache passed it was all fine, there is a variety of delicious decaf coffee out there these days so I don’t mind a thing.
In winter I brew it hot, but in summer Duncan and I live on a steady diet of homespun cappuccino freddos – a habit we got into while living on a Greek island. A good quality coffee, ice, a touch of vanilla and a dash of oat milk whizzed together is my idea of heaven on a hot summer day.
Anyway, I digress, back to my recipe. So yes, this coffee inspired ice-cream sandwich is something I wished I had in my freezer for a while as it’s been crazy hot here lately. The ice-cream layer is a really simple. It’s a no churn affair that comes together in a blender, in seconds. It requires four staple ingredients, no churning, no stirring, no fuss.
The cookie layer is a little more involved but not crazily so. While I was thinking of a coffee flavoured dessert, Duncan’s favourite walnut and coffee cake came to mind so I decided to add some ground walnuts to the cookies and I am really pleased with the outcome. I made the cookies soft and a little chewy so that they don’t get hard after freezing. The ice-cream is silky and creamy and not at all icy – something that tends to happen to no churn ice-cream – and the two work beautifully together. We love them and I hope you will too if you decide to make them.
MORE ABOUT THE INGREDIENTS
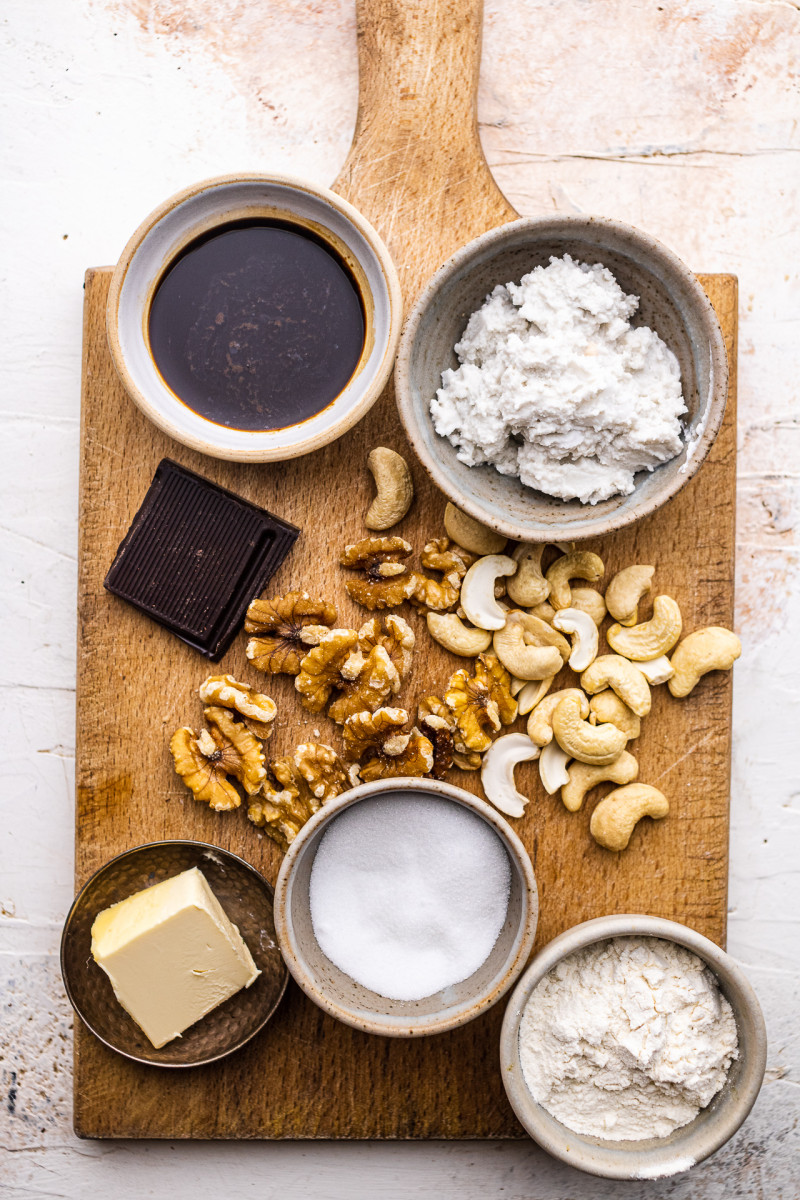
CASHEWS: Cashews make for a great base for dairy-free ice-cream. You want to use raw, as opposed to roasted, cashews and soak them first to soften them and make it easier for the blender to turn into a creamy and smooth mixture. You can soak them in cold water for several hours (overnight is great to) or in boiling water for 30 minutes if you are in a rush.
COCONUT CREAM: Coconut cream is another key ingredient that helps to make a creamy no churn vegan ice-cream. As ice-cream needs a high percentage of fat, be sure to use the solid part of a coconut cream (or full fat milk) that floats to the surface after prolonged refrigeration and discard thin, watery part that stays at the bottom. This time, I used a can of Biona’s whipped coconut cream – I store it in my fridge and only use the fat at the top of the can – but I have had success with a can of full fat coconut milk by Aroy-D. In order for the fat to separate you need a full fat coconut milk without any stabilisers.
SUGAR: I used caster sugar, which is best as it has very small crystal size and therefore dissolves really easily in food. I’ve made the ice-cream with maple syrup before if that’s what you prefer but in order to make the cookies with maple syrup you would need to use a different recipe and the cookies will be different. This texture is not possible to achieve without sugar.
INSTANT COFFEE: Instant coffee is a great when it comes to delivering a potent coffee flavour to cookies and cakes without the need for a lot of extra moisture. I used it in both the ice-cream and in the cookies too for little pops of coffee. I used the decaf not to give myself a coffee high, but that’s just my personal preference.
PLAIN FLOUR: Plain flour is what I used to make these cookies. If making these for someone who cannot have gluten, use a good gluten-free plain flour mix and a smidge (½ tsp) of xanthan gum.
WALNUTS: Coffee and walnuts are such a dream combo so I added some ground walnuts instead of flour to these cookies. If you don’t have time to grind walnuts, you can sub them with ground almonds or use a little more plain flour (about 60 g / ½ cup more is my guess but I have not tested it).
BAKING SODA: A touch of baking soda is needed to give these cookies a little lift.
VEGAN BUTTER: Vegan butter is the source of fat in the cookies. I like to use the Danish brand, Naturli, but any vegan butter that comes in a block rather than a tub will work. Flora and Violife are two other brands I tend to use.
HOW TO MAKE IT?
1) BLEND THE ICE-CREAM
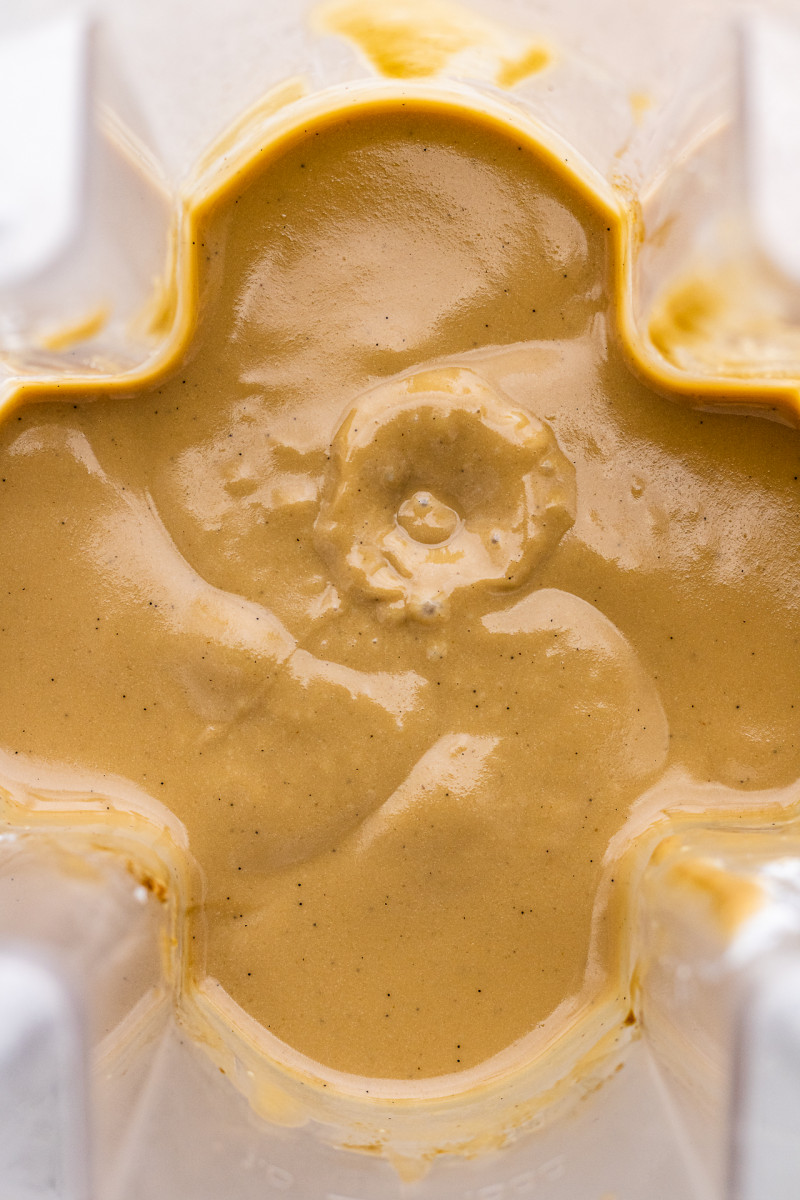
Put all of the ice-cream ingredients together in a blender and blend until super smooth. You can use a regular blender, but I have also made this ice-cream in my small capacity Ninja in the past.
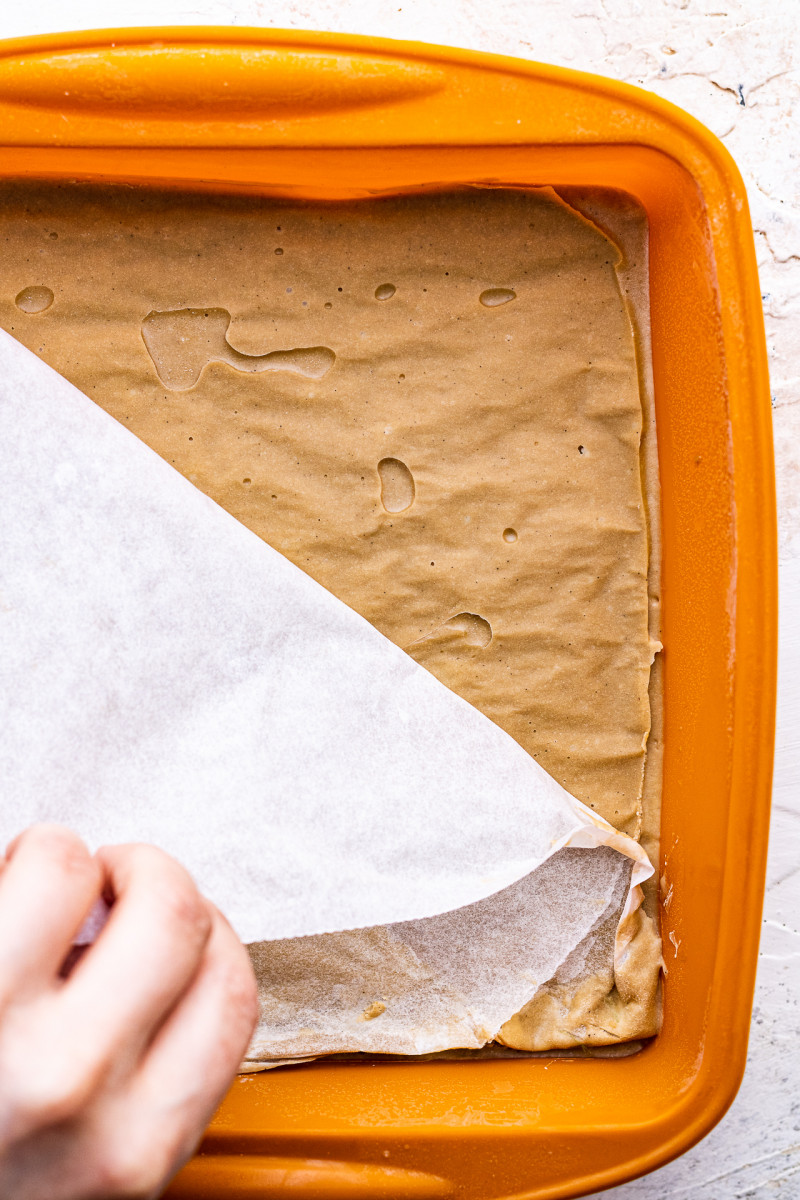
Once silky smooth, transfer it to a mould. I used my silicone brownie mould – be sure to place it on something sturdy when transporting to the freezer btw. If using something else, like a tupperware container or a baking tray, be sure to line it with baking paper first for easy removal. Also, place a piece of baking paper directly on top of the ice-cream before freezing then freeze until firm.
2) BAKE THE COOKIES
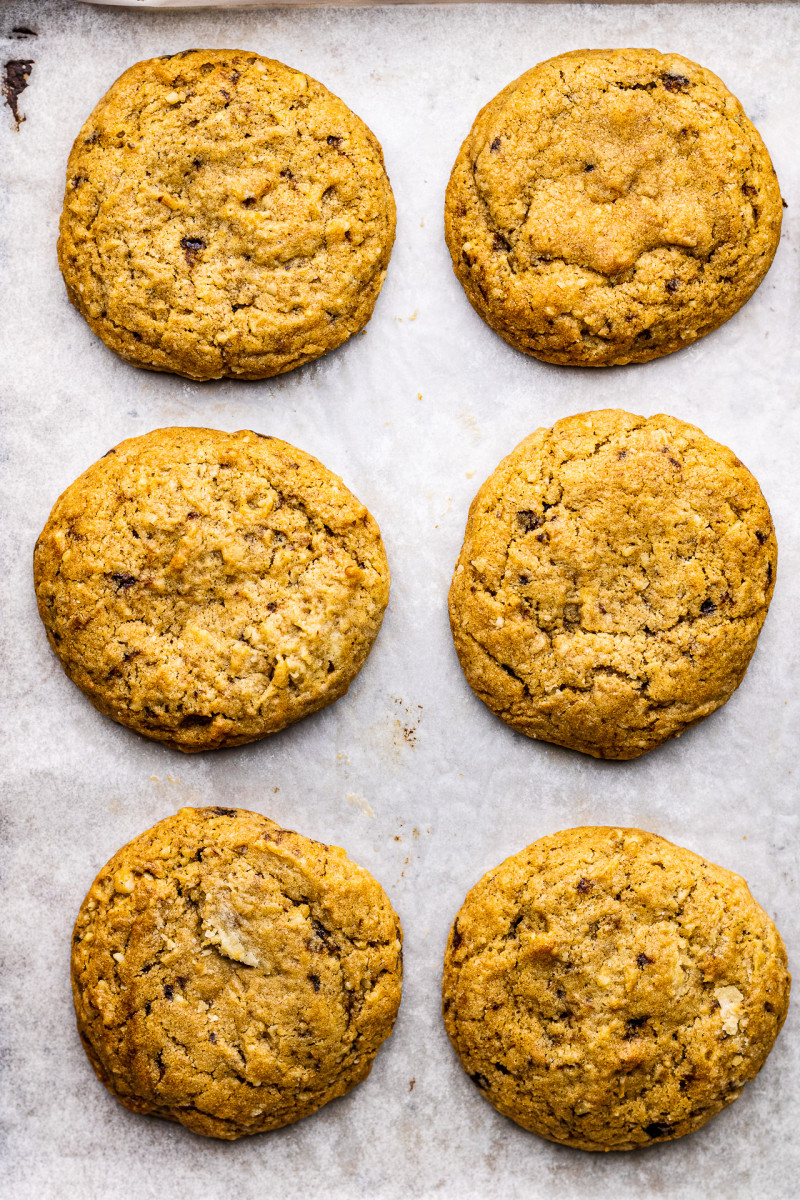
Make the cookie dough by following the instructions below, refrigerate the dough for at least 60 minutes before dividing it into 12 even portions and baking. Cool the cookies completely before assembling the sandwiches.
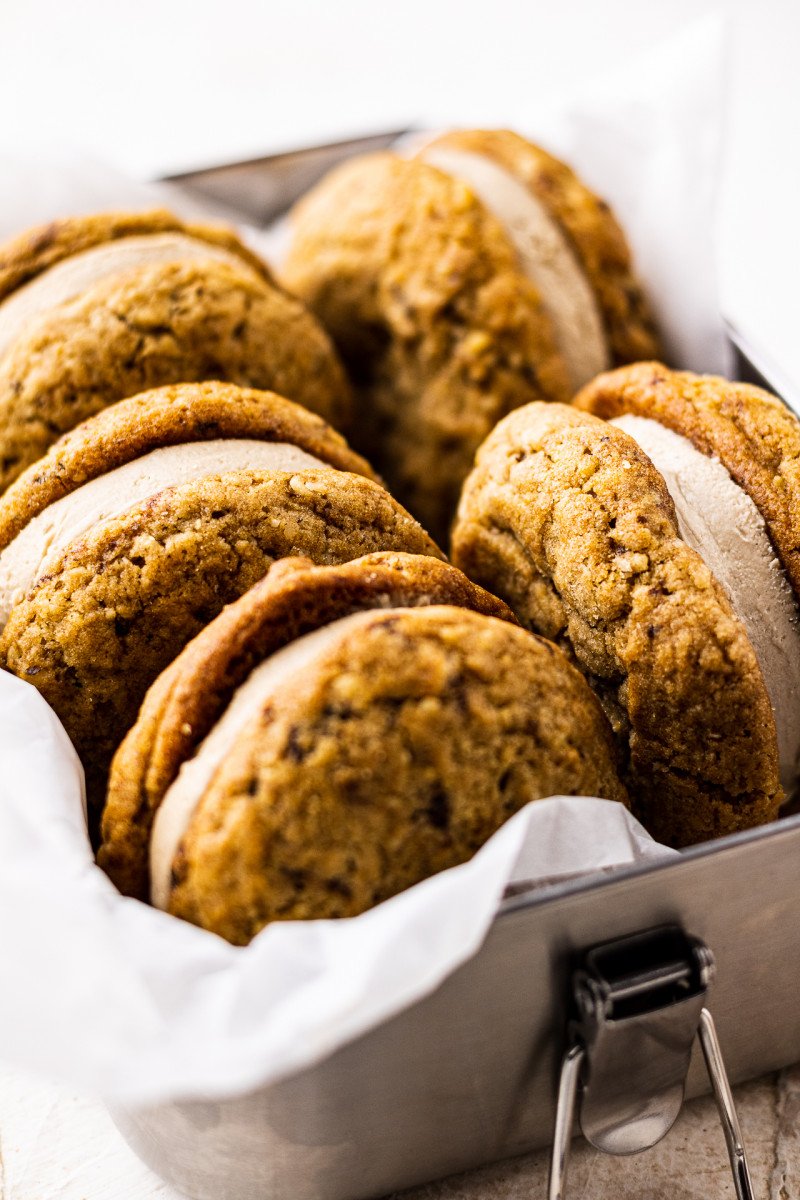
3) ASSEMBLE
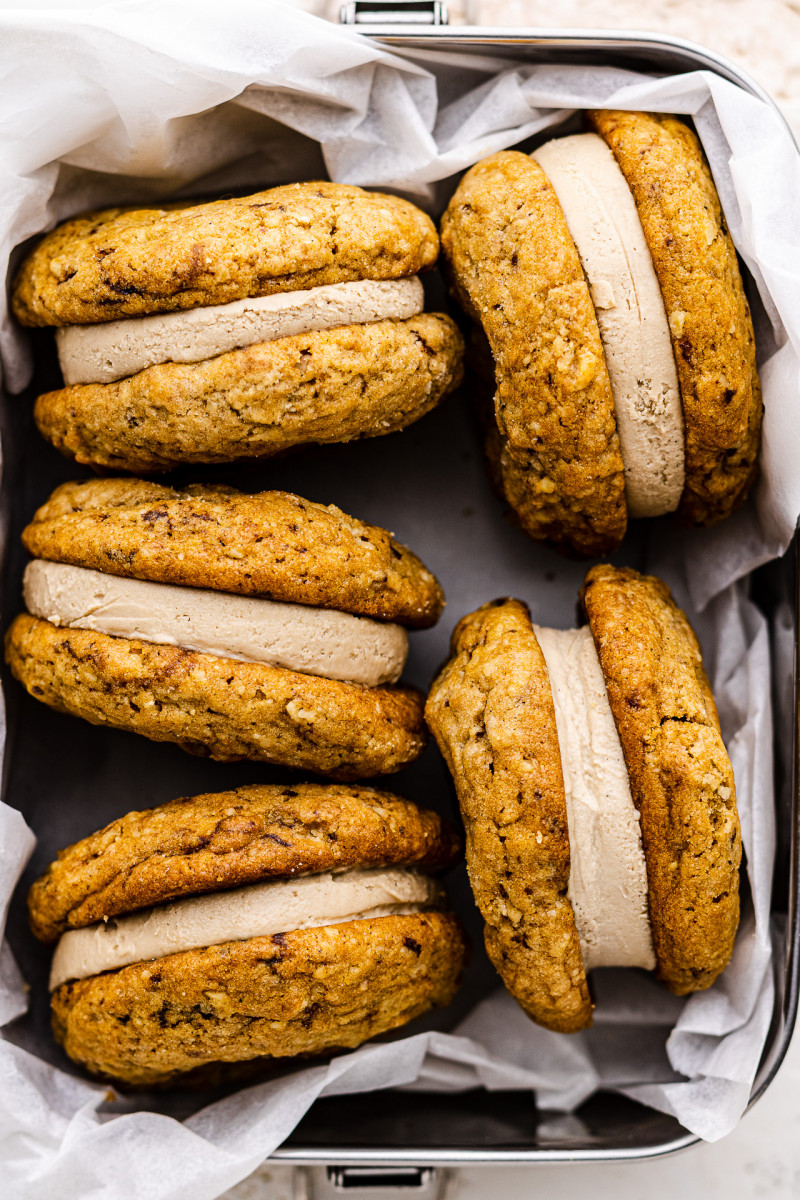
Cut the ice-cream slab into squares or circles a little smaller than the diameter of the cookies. You can use a sharp knife warmed up in hot water for neater looking slices or a cookie cutter (if the cookie cutter is metal, warm it up by dipping it in hot water). Place the ice-cream circle between two biscuits and enjoy or return to the freezer for later.
NO CHURN ICE-CREAM
- 160 g / 1¼ cup cashews, soaked
- 210 g / 1¼ cup solid coconut cream* (see NOTES)
- 100 g / ½ cup superfine sugar*
- 2 tsp instant coffee granules
- a good pinch of salt
- 2 tsp vanilla paste, optional
WALNUT COOKIES
- 100 g / 1 cup ground walnuts (can sub with almonds)
- 100 g / 3.5 oz vegan butter, softened
- 100 g / 3.5 oz (½ cup) caster sugar
- 200 g / heaped 1½ cup plain flour or GF plain flour mix
- ½ tsp baking soda
- ¼ tsp salt
- 1 tbsp instant coffee granules
- 1 tsp vanilla
- 60 ml / 4 tbsp soy milk
NO CHURN ICE-CREAM
- Soak cashews in boiling water for 30 minutes or in cold water for a few hours. Drain.
- Dissolve instant coffee in tiny amount of boiling water, 1-2 tsp ideally.
- Place everything in a blender and blend until silky smooth.
- Transfer to a large, flat container – ideally one that will allow to cut out six 6-7 cm dia (approx. 2.5″) circles. I used a silicone brownie mould. If not using a silicone container, line it with baking paper first for easy removal. Place a piece of baking paper on top of the mixture and freeze until solid.
WALNUT COOKIES
- Grind your walnuts in a food processor using the pulse function, until finely ground.
- Place softened butter and sugar in a mixing bowl. Work the sugar into the butter with a fork.
- Combine flour, salt, baking soda, and coffee granules in a separate bowl.
- Add dry ingredients to the butter and sugar mixing and work them in with a fork.
- Work in soy milk and vanilla. Then fold in walnuts – you may need to use your hands. Combine until you get a uniform dough.
- Refrigerate the mixture for at least 60 minutes.
- Pre-heat the oven to 180° C / 355° F (or 160° C / 320° F with a fan) and line two baking trays with baking paper.
- Scoop 12 approx. 45 g / 1.6 oz cookies and arrange six on each tray. Bake one tray at the time (pop the other one into the fridge while it waits) for about 10 minutes.
- Once out of the oven, bang each tray on the counter a few times so that it settles. Cool completely.
ASSEMBLY
- Take the ice-cream out of the freezer and using a cookie cutter (if you have a metal one, warm it up in hot water first for a nicer cut) cut out circle shapes of the ice-cream. You could also use a knife and cut it into squares.
- Pop a slice of ice-cream between two cookies and enjoy or pop into a box and back into the freezer. Allow the sandwiches to thaw for about 5-10 minutes before consuming.
*SUGAR: You could make this ice-cream with maple syrup too, like I did in this ice-cream sandwich recipe. As for the cookies, you would need to make cookies like these, but I would roll them out a little thinner and bake for less time.

In that case you may prefer this vegan ice-cream sandwich instead. You could make the brownies as brownie cookies too. And to answer you question, yes, you can skip the coffee (perhaps matcha powder could be a nice option if you are a tea lover) and perhaps add a bit more vanilla. Ania