Corn tortillas
Corn tortillas
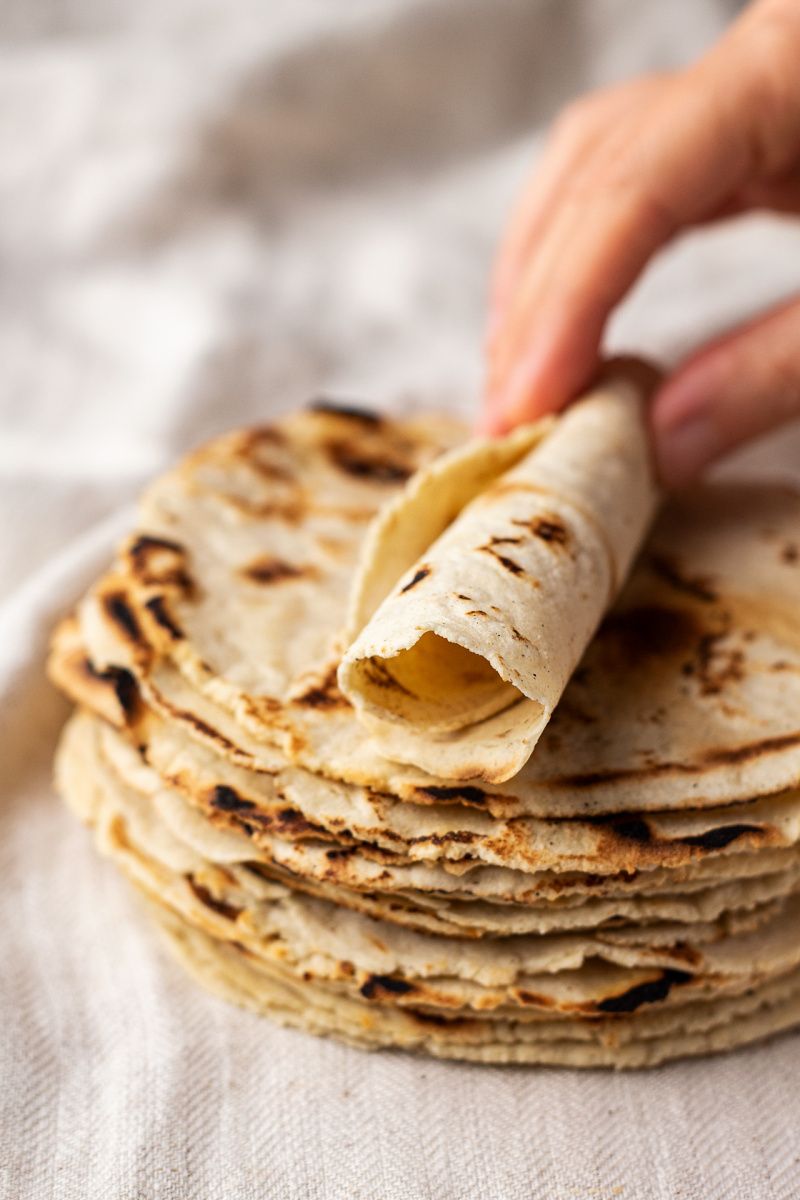
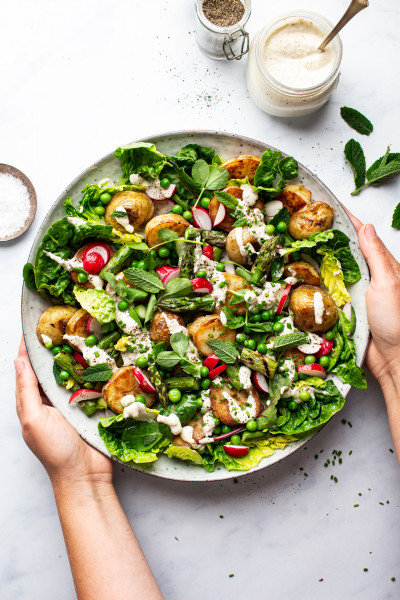
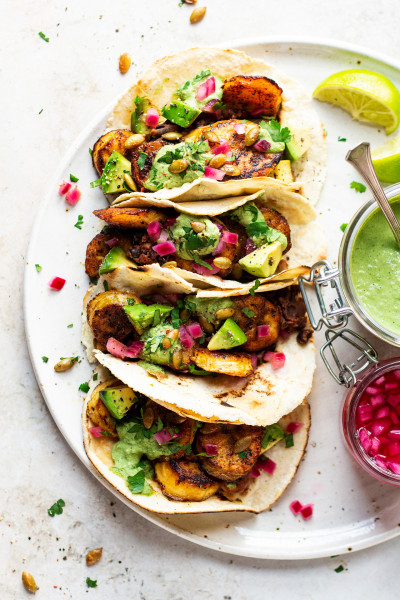
By popular demand, today I bring you a recipe for traditional Mexican soft corn tortillas that contain only corn flour, plus water and optionally salt and aren’t as difficult to make as you might have been led to believe. After I published my last recipe for easy vegan fajitas , I got inundated with messages on all channels asking for me to publish my tortilla recipe, so I am happy to oblige.
The ingredients are really simple although you do need to source instant corn masa flour, which unless you live near a Mexican store, may require you to search online. There is no replacement for it that I’m aware of, I am afraid. I got mine from a Mexican store in town and I have a confession to make. I bought a few kilos of it and I forgot about it for a while so the flour I am currently using is 6 months out of date – I know, daredevil me!
It’s been kept in a dry, dark cupboard, there are no aliens in it and it tastes absolutely fine so rather than binning it and buying a new one, I simply used what I had. I’m not saying go out there and get an out of date corn flour 😉 , but if you happen to have a bit of a break in your tortilla consumption and your flour gets a touch old, it should be fine to use provided it smells and looks fine and it’s not a home to a family of flour beetles, of course.
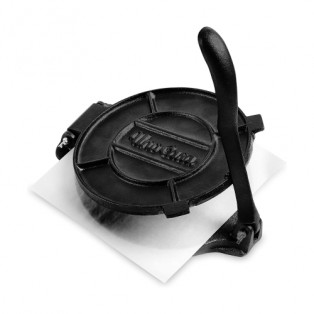
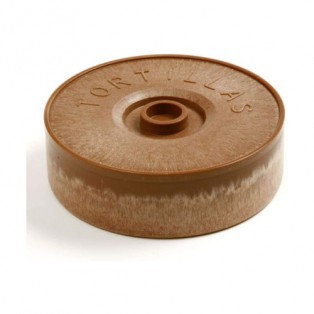
So yes, the ingredients are very straightforward and so is the process, although it requires a little time to get the hang of it, which you will, I promise you. Another three essentials when it comes to making corn tortillas are tortilla press, comal and a tortilla warmer but there are ways around all three. So if you don’t have a tortilla press, you can simply use a heavy cast iron pan to squash them down or a rolling pin to finish the job. If you don’t have a comal – I don’t – use a heavy bottomed, cast iron frying pan or skillet. And finally, a tortilla warmer can really be improvised. You want something insulated that traps heat in. I wrap my tortillas in a clean kitchen towel and then put them in a small cool bag that I got with something cold I purchased once. It works a treat, as would a warm sleeping bag (eccentric but it works 😉 ) or a Dutch oven heavily lined with insulating material like bubble wrap. Get creative and certainly don’t go out and buy the proper gear unless you are committed to making tortillas again and again and again.
Right, so with all of this housekeeping out of the way, let’s move on to the nitty gritty of tortilla making. I will give you all the tips I have learned myself and I hope you’ll enjoy the process and the end result of your hard labour.

- 200 g / 2 cups* instant corn masa flour, I use this brand
- heaped ½ tsp fine salt
- 360 ml / 1½ cups warm water
DOUGH (MASA HARINA)
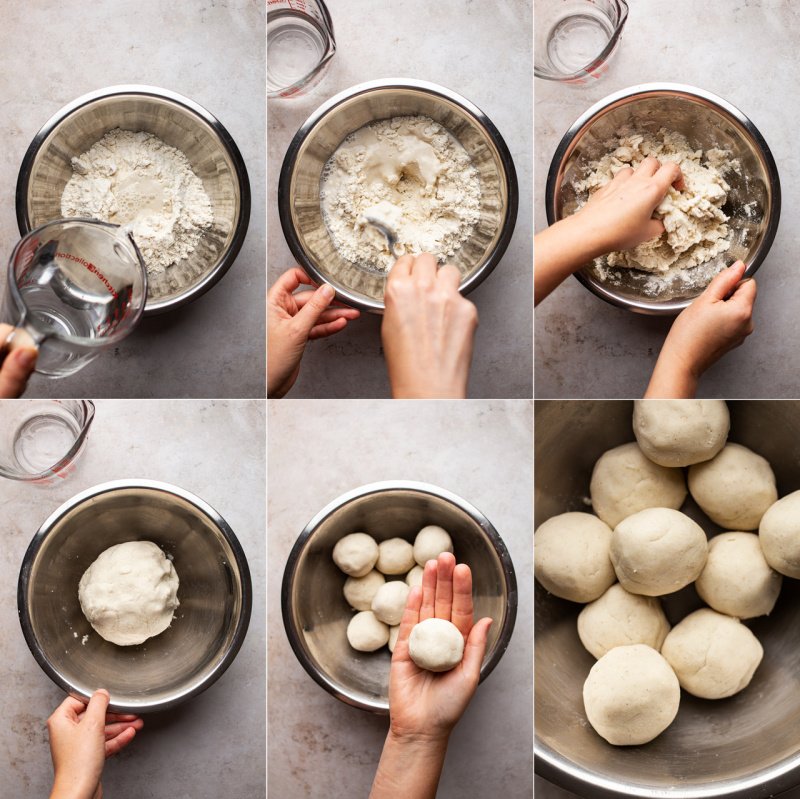
- Place cornflour and salt in a large mixing bowl.
- Add 360 ml / 1½ cups of water and mix well, with a spoon first and then with your hands. Knead for a bit to distribute the moisture evenly, then gather everything into a ball and allow it to rest for 15 minutes under a damp kitchen towel. After the resting time, the dough should be supple and soft, not dry, but not sticky either. If the dough feels too dry, add a tiny bit more water and a bit more flour if too sticky.
- Divide the dough into 10-14 (depending on how big you want your tortillas) even portions and roll each into a ball. Using scales is the best way to do this, of course.
- Place the balls in a bowl underneath a damp kitchen towel.
PRESSING
- To press the dough balls, you will need a piece of foil or greaseproof paper. The best thing to use is a large zipper bag with the zip and bottom cut off and one of the sides split open. You can clean, dry and reuse this bag many times to minimise waste. Otherwise a piece of greaseproof paper also works, not as well as it tends to absorb some of the moisture out of the tortillas and its surface gets a bit crumpled in the process, but it does work. The size of this lining material depends on the size of your press – you don’t want it to get caught in the hinges, but equally, you don’t want it too small as the dough will spill out – I use a piece that when folded in the middle gives me a 19 cm / 7.5″ square.
- TORTILLA PRESS
Line the tortilla press with your plastic or paper lining, place a dough ball a little off centre – closer to the main hinge than to the handle, put the second layer of your lining material down, close the press and the gently press down. You may want to rotate the tortilla 180 degrees, to ensure that it is evenly pressed as usually the part close to the handle gets a little flatter. - NO TORTILLA PRESS
Place a dough ball in the middle of the two layers of foil or paper and gently squash it with a heavy skillet or pan. Then use a rolling pin, through the lining material, to gently roll it out thinner if needed. Apply very delicate, even pressure with the rolling pin for best results.
COOKING
- Have your tortilla warmer handy or prepare a contraption for keeping your tortillas warm and supple. A clean kitchen towel to wrap cooked tortillas in and something to lock the warmth in is what’s needed – a small insulated cool bag, a dutch oven with a lid lined with bubble wrap etc., get creative.
- Heat up a comal or a heavy cast iron pan / skillet on a medium-high heat for about 3-4 minutes.
- Once the pan is hot, grab the first tortilla together with the lining foil / paper. Peel one layer of the lining foil off and place the tortilla flat in the palm of your hand, then peel the other side of the lining material off very slowly and gently.
- Lower your tortilla holding hand into the pan, flip your hand and allow the tortilla to fall flat onto the pan’s surface.
- Leave the tortilla undisturbed for about 60 seconds so that the bottom side gets sealed – do that even if your tortilla doesn’t quite land flat, it will be easier to take it off the pan cleanly.
- While your first tortilla is cooking, press another one and have it ready to place in the pan as soon as the first one is done.
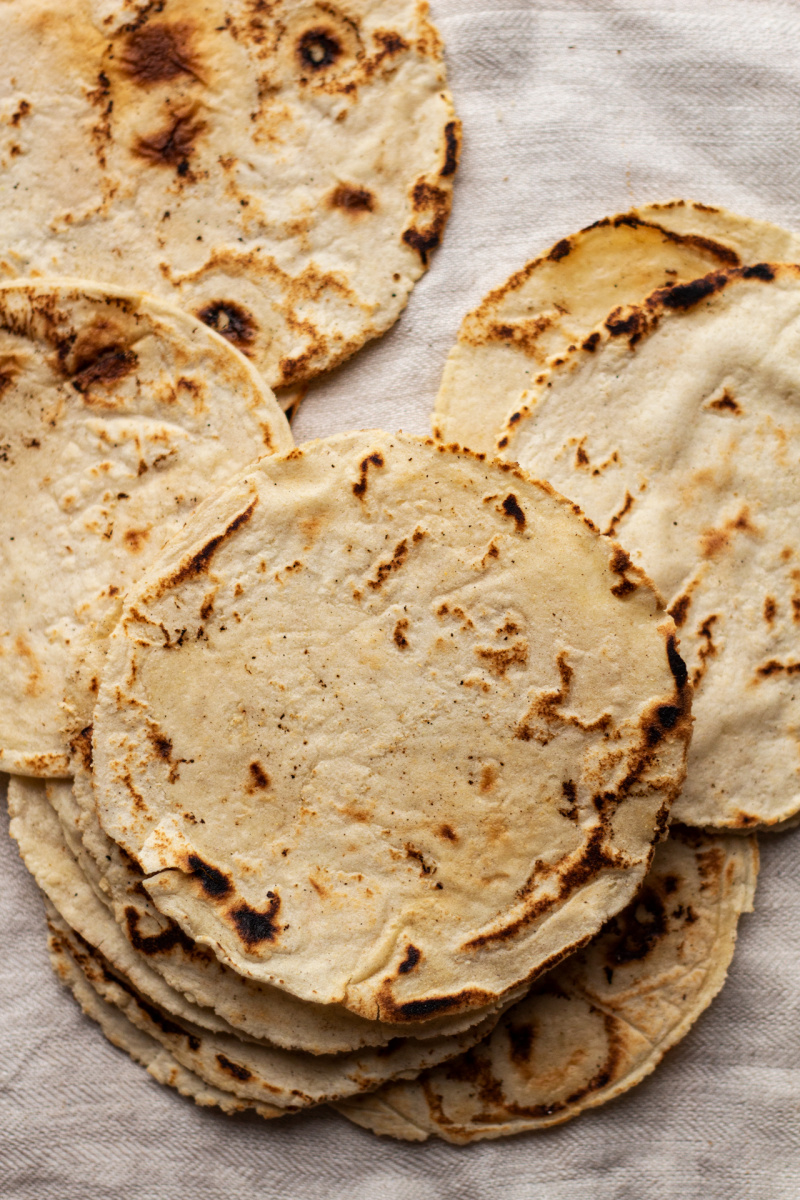
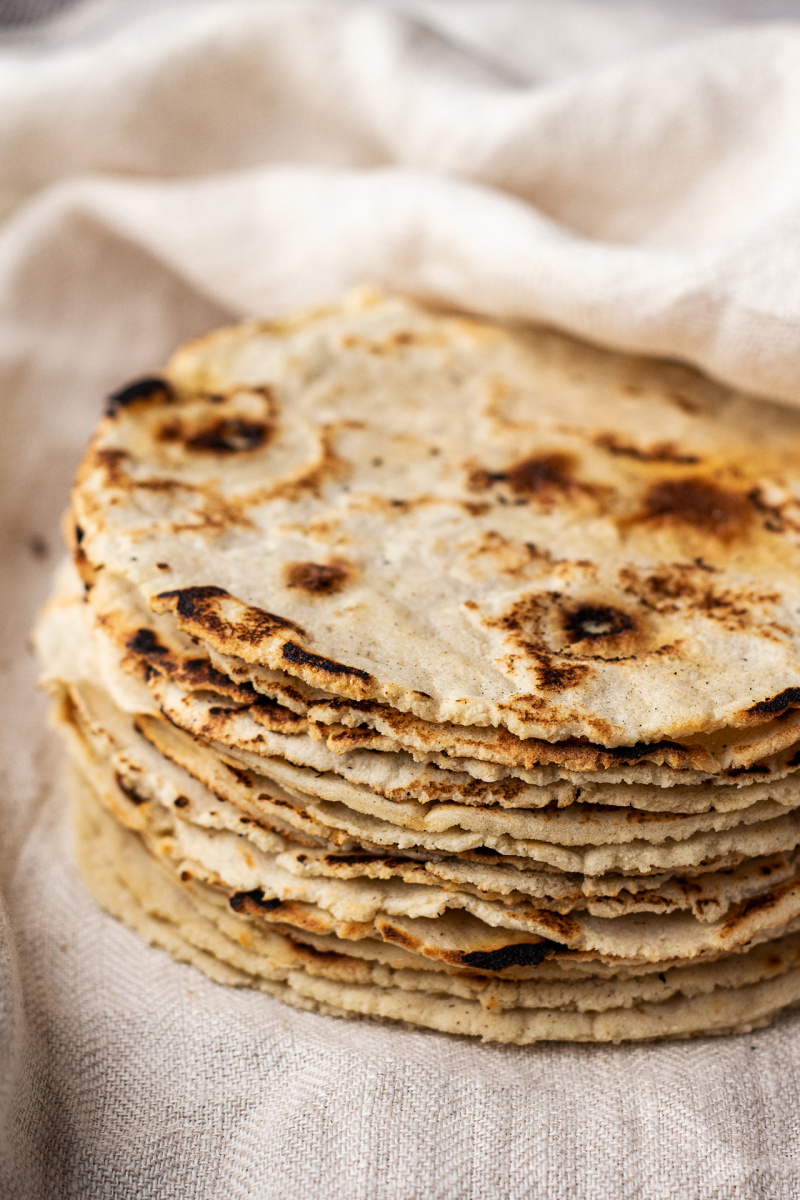
- After 60 seconds, slide a spatula underneath the tortilla and flip it. Press it down with the spatula for a few seconds, at this point you may or may not have bubbles forming underneath the surface. Don’t panic if they don’t form, they don’t always. Cook for 30-60 seconds. Then flip again and cook for another 30-60 seconds. As a rule of thumb, cook each tortilla for 2-3 minutes in total and while it’s tempting to get it nicely charred, don’t push it too much as your tortillas will end up dry and brittle.
- Once off the pan, place the cooked tortillas in a tortilla warmer (or your homemade equivalent). They will soften from the steam and remain warm and supple.
- Consume straight away, or store, wrapped tightly, for one 1-2 days. You can also freeze them separated by squares of baking paper and locked away in a freezer bag or an airtight container. Reheat in a steamer once thawed.

You mean you tried using cornstarch? Sorry, I did not intend to mislead you at all. I put a link to the specific flour needed in the ingredients but you are right, I will add a note to say that it is a specific type of cornflour that is needed. Thanks for letting me know. Ania
I don't think it will work. Masa harina is a special type of corn flour that has been nixtamalized. Ania
It is the same thing, I am pretty sure. Masa harina is what the actual dough is called, I believe. Hope you'll enjoy making them. Ania