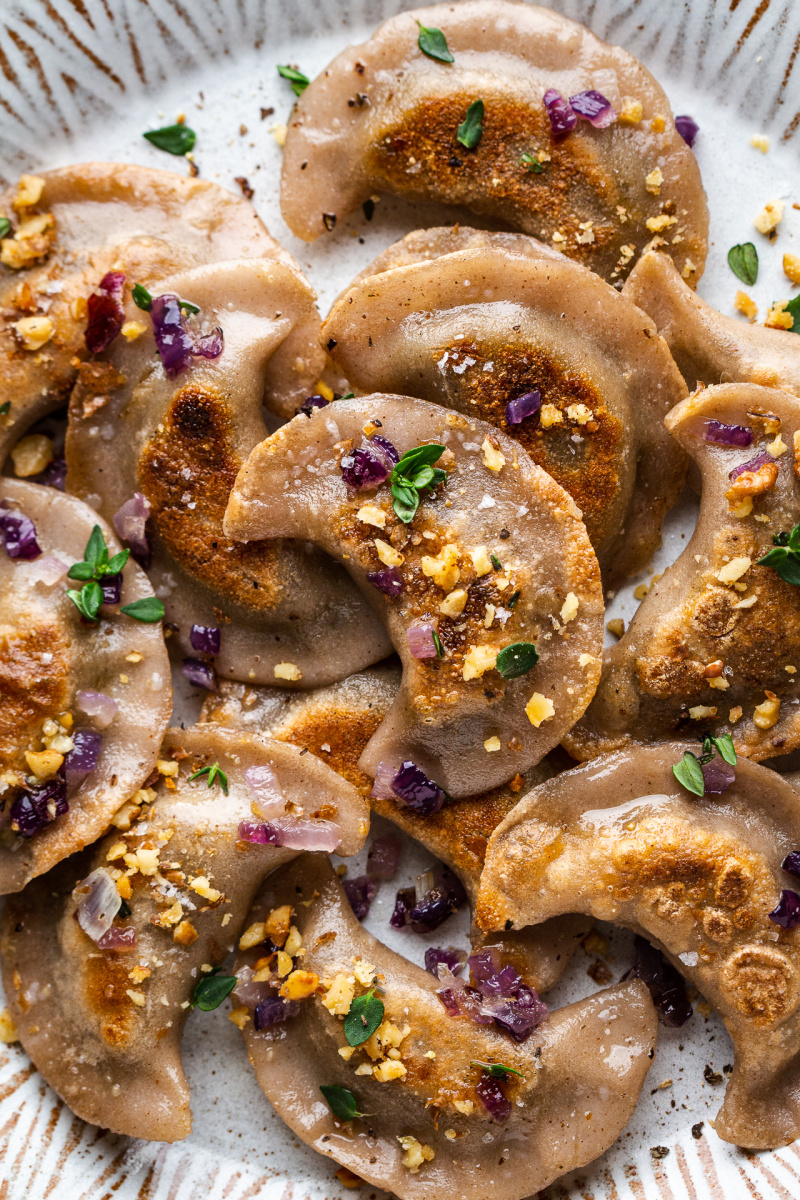
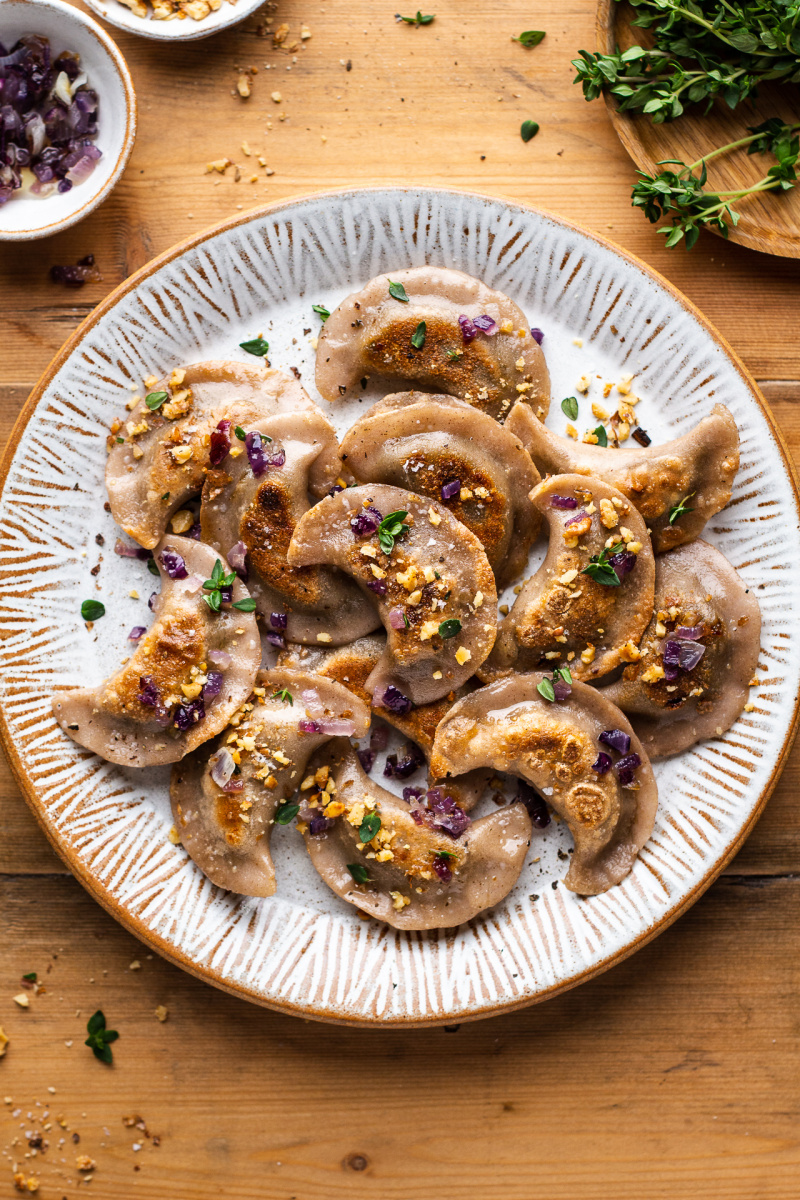
Vegan gluten-free pierogi with mushrooms
Vegan gluten-free pierogi with mushrooms
This is the time of the year when I am excited about making pierogi again. A friend of mine who visited last weekend said that she was also about to embark on her own ‘pierogeddon’ soon as she has four hungry mouths to feed and pierogi are her Xmas go to. Although she runs a half Polish and half Jewish household with some vegans and some non-vegans in it, pierogi seems to make everyone in her family happy so she really has her work cut out – we are talking hundreds of little parcels here!
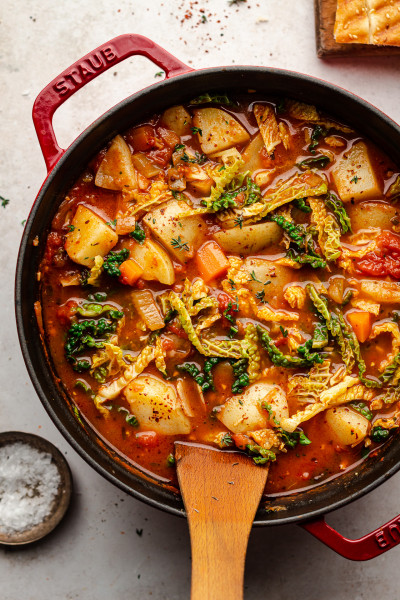
Pierogi are an everyday fare in Poland (or at least used to be when I was a child and the pace of life was a little slower), but they also tend to feature on Polish Christmas tables as one of twelve mandatory dishes, so many people make massive batches of them and freeze them for Christmas. To my mum’s chagrin, I am as untraditional as they come (sorry mom!), but I do like my pierogi now and then. I mean what’s not to like? Especially the pan-fried ones are to die for on the cold dark days that we’ve been plunged into quite recently.
While pierogi are very easily made vegan – although there is only one traditional filling (the cabbage and mushroom one) that tends to be vegan – the traditional dough always contains gluten, which is bad news for some. After I featured my old cabbage and mushroom pierogi quite recently, I got quite a few questions about making them gluten-free so this recipe is my answer to those of you who are after some decent gluten-free pierogi with a vegan filling.
Making a vegan filling is dead easy, I went for my beloved mushrooms, but the dough without gluten or egg is the tricky part of this dish. In order to make a supple dough that will hold together, I combined two types of gluten-free flours: buckwheat and rice flour (brown rice flour is fine too), with some tapioca starch, a little olive oil and some psyllium husk powder thickened with water. The last two ingredients are there for much needed flexibility, which is usually taken care of by gluten. I tested these with both psyllium husk powder and with whole psyllium husks and they both work just as well.
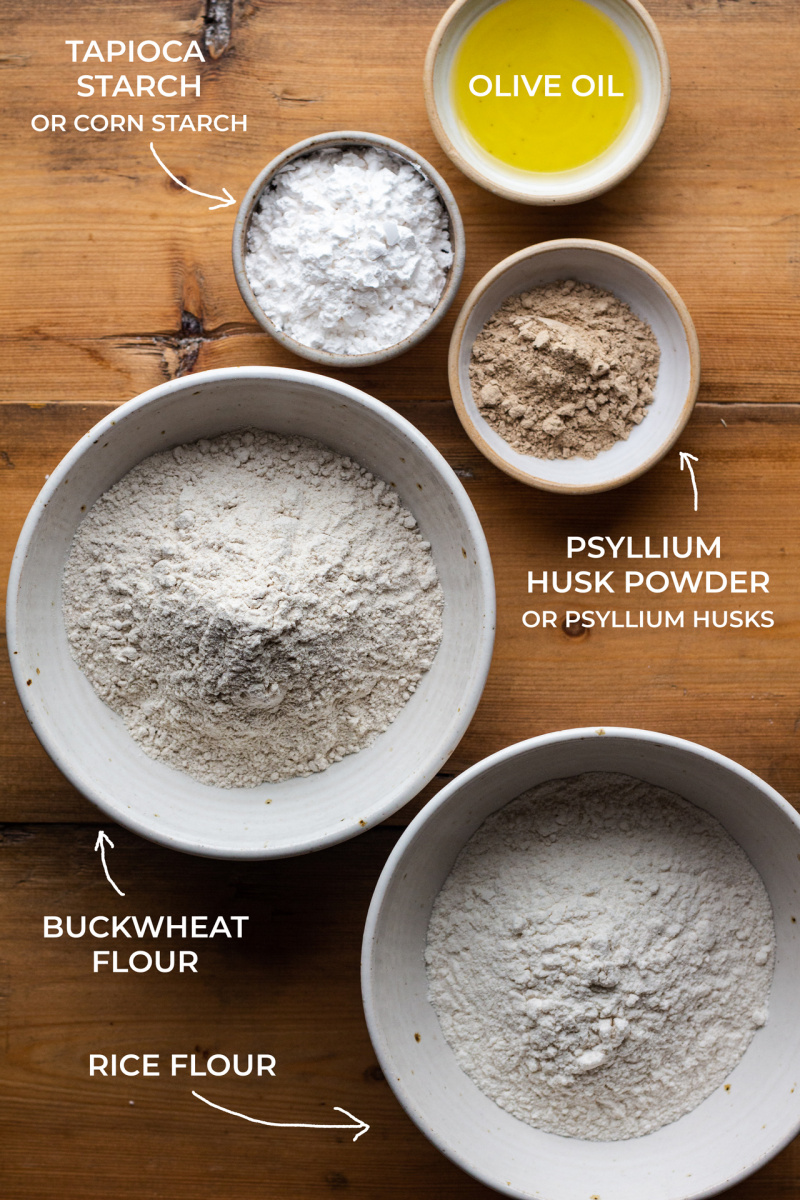
What is great about psyllium husk powder is that, as opposed to xanthan gum which is often used in commercial gluten-free dough, it is a natural, wholefood plant based ingredient that has traditionally been used to aid digestive issues (my local Indian store sells it for example). You can get it in health food stores, perhaps in your corner store and online and it’s what makes this dough quite easy to handle. It’s a very potent and therefore quite efficient ingredient that will make your gluten-free dough or any kind of dough so much easier to handle. Neither myself nor Duncan are used to gluten-free pierogi dough, but we’ve consumed these with pleasure and I hope you’ll enjoy them too.
- 15 ml / 1 tbsp olive oil
- 1½ banana shallots, diced finely
- 300 g / 10½ oz fresh mushrooms (I used chestnut / cremini)
- 4 large garlic cloves, diced finely
- 1 large rosemary sprig, leaves chopped (or a few sprigs of thyme)
- salt and pepper, to taste
- 1 heaped tsp red miso paste
- 10 ml / 2 tsp balsamic vinegar
- ½-1 tsp maple syrup (optional)
GF DOUGH
- 1 tsp psyllium powder or 2 tsp psyllium husks
- 60 g / ½ cup buckwheat flour
- 70 g / ½ cup rice flour
- 30 g / ¼ cup tapioca starch or cornstarch / cornflour
- ½ tsp sea salt
- 15 ml / 1 tbsp olive oil
TOPPING
- 30 ml / 2 tbsp olive oil
- ½ onion, finely diced
- salt
- crushed walnuts (or walnut crumb)
- Heat up the olive oil in a large pan. Gently fry shallots until translucent and lightly caramelised.
- Meanwhile, chop your mushrooms into medium size dice – you can use a food processor if you like but be careful not to overprocess.
- Next add in garlic cloves and fry on a gentle heat for a few minutes, stirring the whole time. Just before you add the mushrooms, add chopped rosemary (or thyme) and season with some salt and pepper.
- Add half of the mushrooms into the pan. Allow them to fry off for 5-10 minutes, stirring from time to time.
- Once they turn dark brown, add the second half. Allow them to cook through (turn dark brown) and for all the excess water to cook out.
- Season with miso paste, balsamic vinegar, a touch of maple syrup (if liked) and more salt and pepper as needed. Allow the filling to cool down before filling the dough.
GF DOUGH (for non GF dough, see this recipe)
- Put psyllium powder (or whole psyllium husks) in a small bowl and gradually mix in 60 ml (¼ cup) of water. Mix well to get rid of lumps. Set aside to thicken for 10 minutes or so – it will turn into a thick jelly.
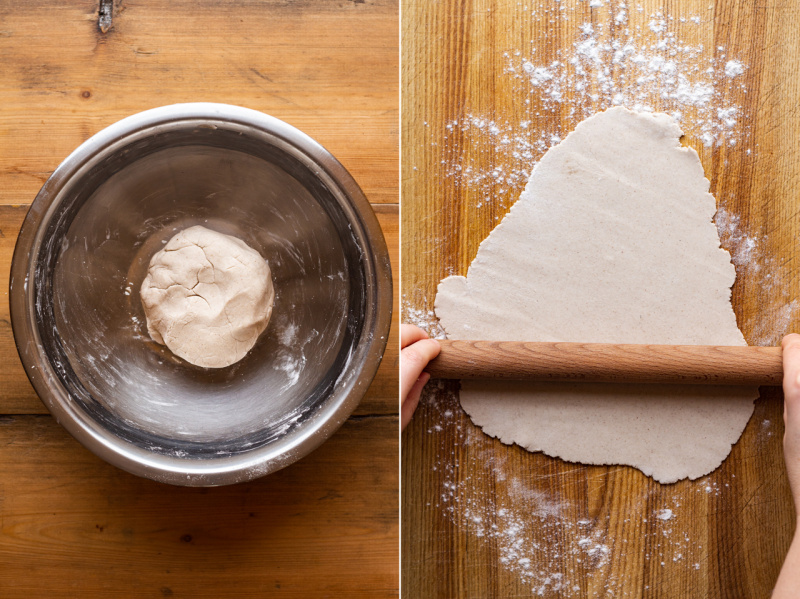
- In a mixing bowl, combine all three flours and salt. Add olive oil, thickened psyllium and enough water just to bring the dough together (2-3 tbsp / 30-45 ml of warm water). You could mix olive oil, psyllium jelly and 2 tbsp of water in a separate dish first before incorporating them into the dry ingredients. Give the dough a good knead to make sure all the ingredients are distributed evenly.
- Boil a medium size pot of water, grab a small bowl of water and have a clean damp kitchen towel handy.
- Divide the dough into two. Roll the dough out as thinly (2 mm ideally) as you can on a lightly floured (with rice flour) surface.
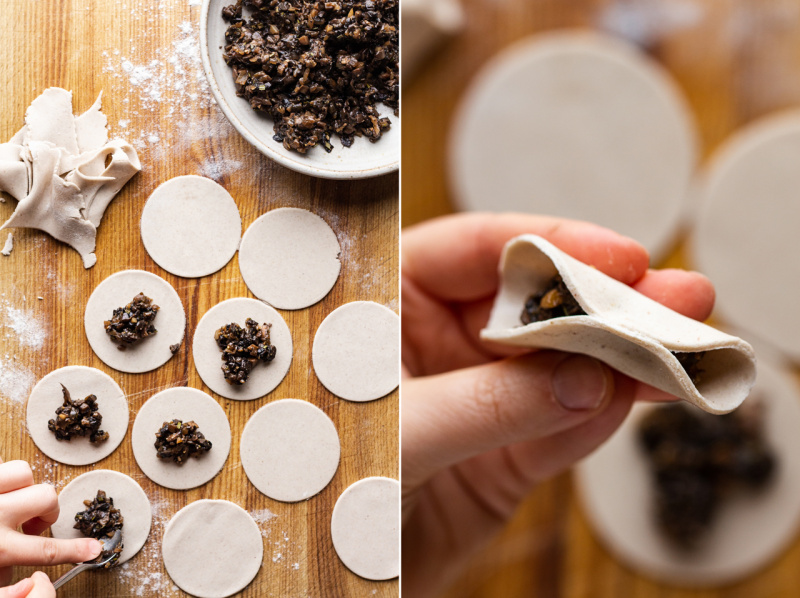
- Using a cookie cutter (I used a 7 cm / 2.75″ one) or an upside down glass, cut circles out of the dough.
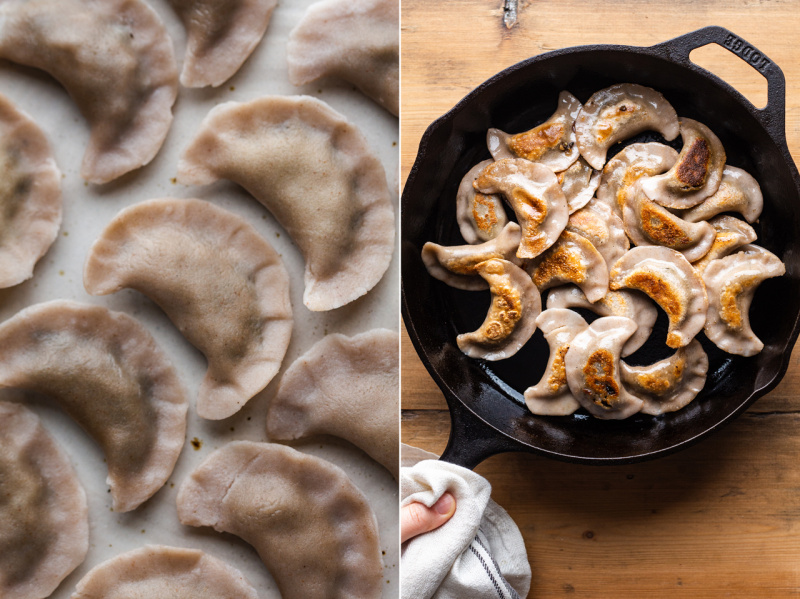
- Place a teaspoon of the filling in the middle of each circle, paint around the perimeter of the circle with a little water (with a finger dipped in the water bowl), fold the circle in half and gently seal the edges. Handle the dough carefully as it isn’t as forgiving as gluten dough, but if you see a tiny little crack occasionally – don’t worry, these do not fall apart as easily as their gluten versions during boiling.
- Keep sealed pierogi under a damp kitchen towel to keep them moist and supple. Once you’ve made about 10, boil 5 at a time for 5 minutes or longer depending on the thickness of your dough. Fish them out with a slotted spoon and place on a clean plate.
- If pan frying, allow pierogi to go completely cold first (storing them overnight in the fridge is ideal). Heat up a tablespoon of oil in a cast iron skillet (or a non-stick pan), lay cold pierogi on the pan and leave undisturbed for about 5 minutes. Allow them to blister on one side before flipping them to the other side and frying until browned and crisped up.
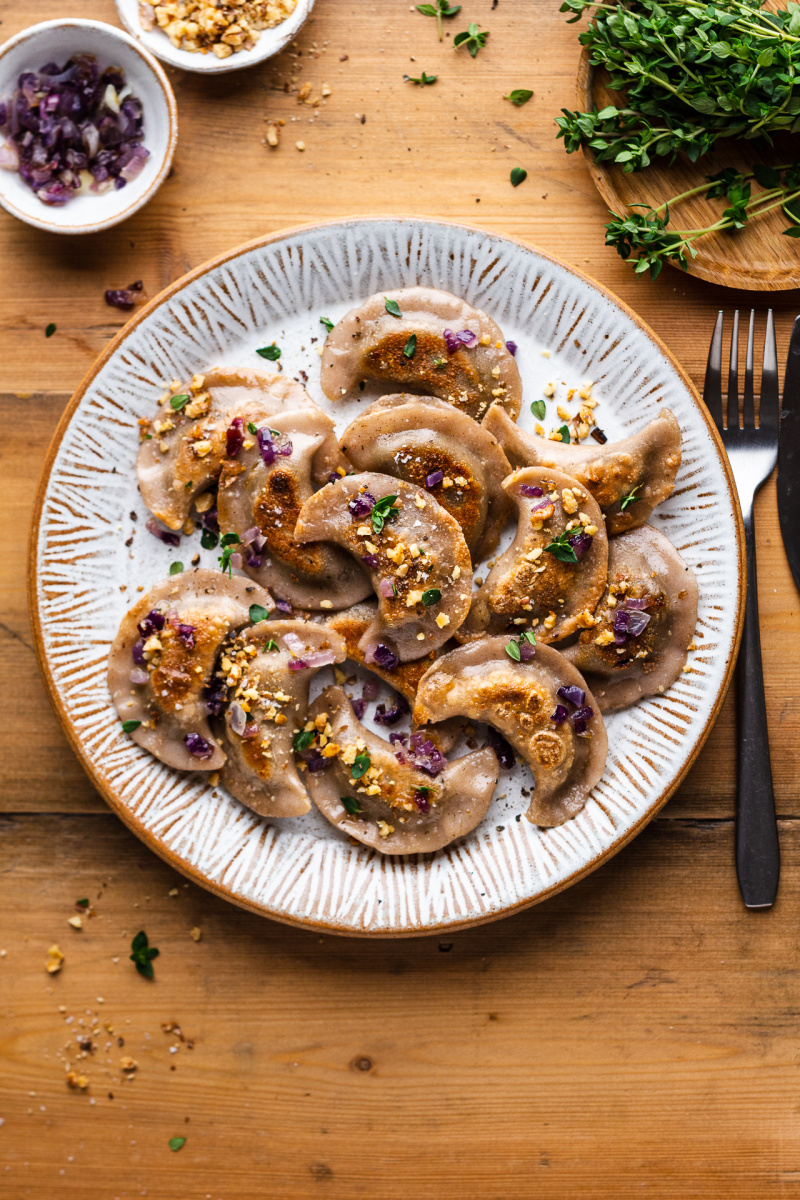
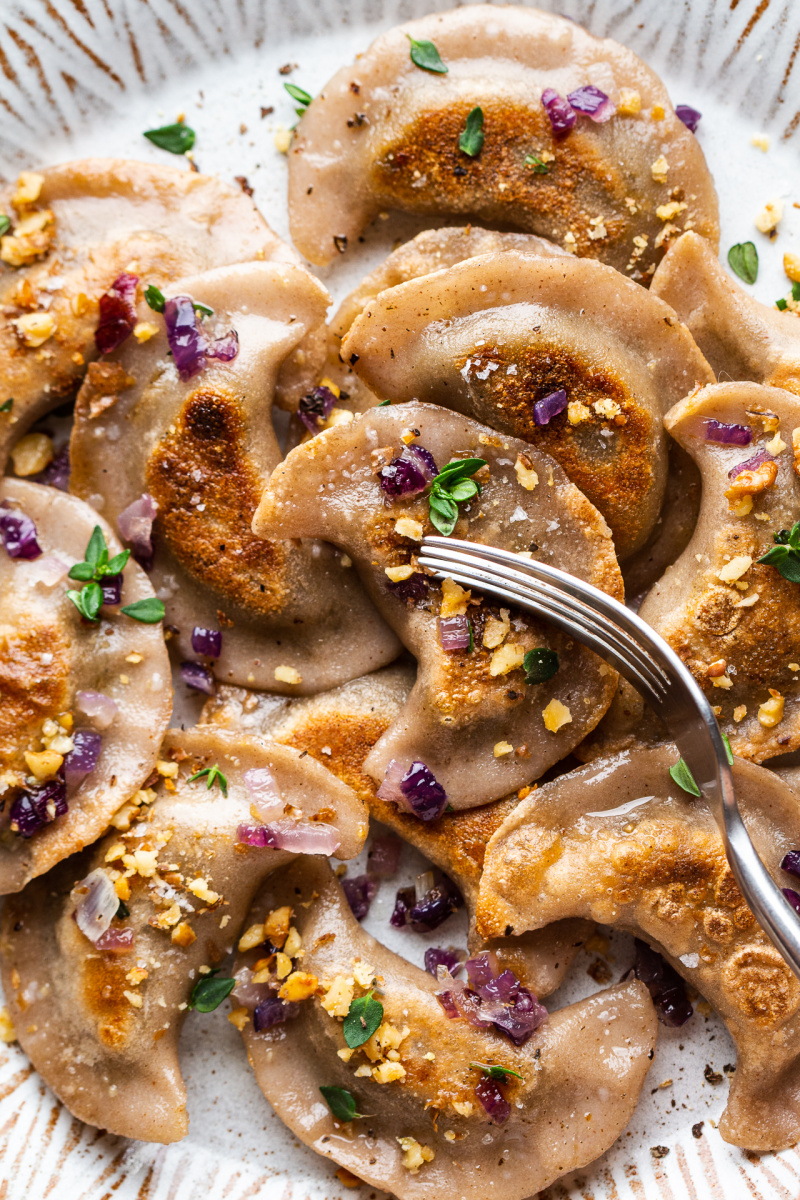
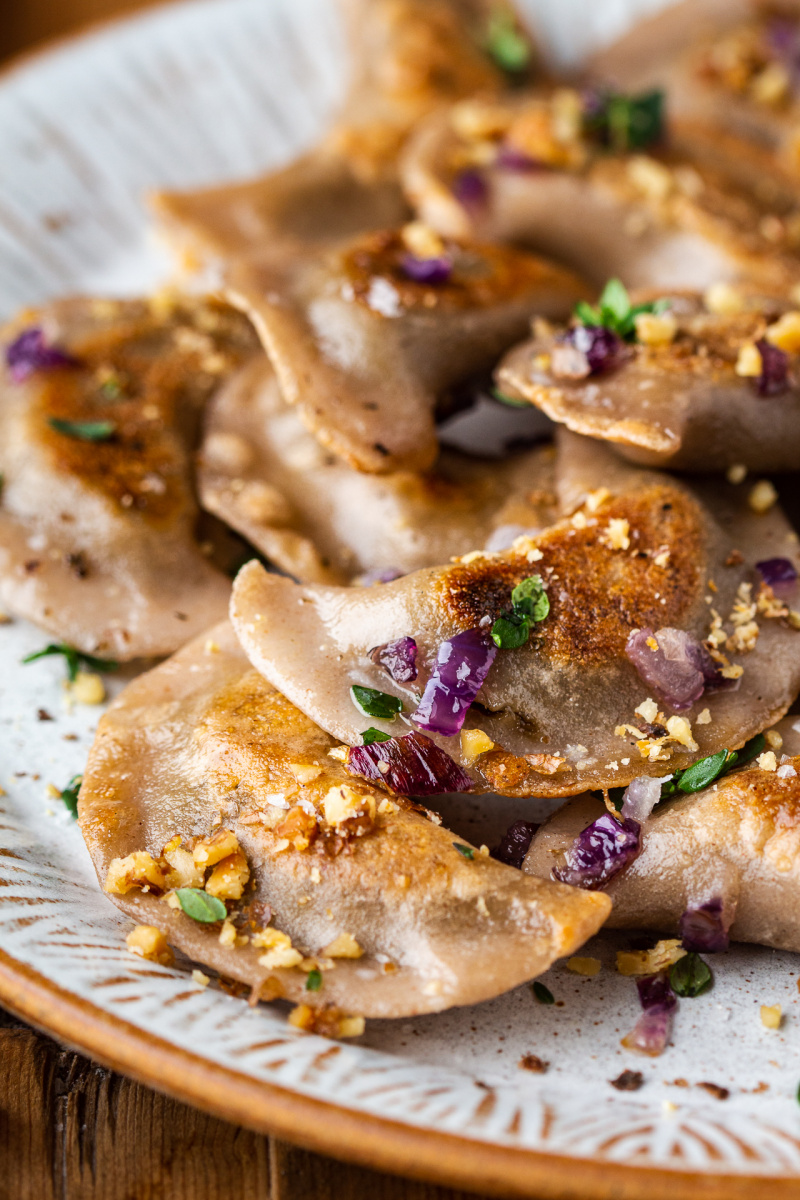
- To serve, slowly fry a small half an onion until translucent, season with salt and pepper. Serve warm pierogi coated in the onion-flavoured oil. I also like to sprinkle mine with some walnut crumb – it’s not traditional but it’s a Lazy Cat Kitchen twist 😉 .
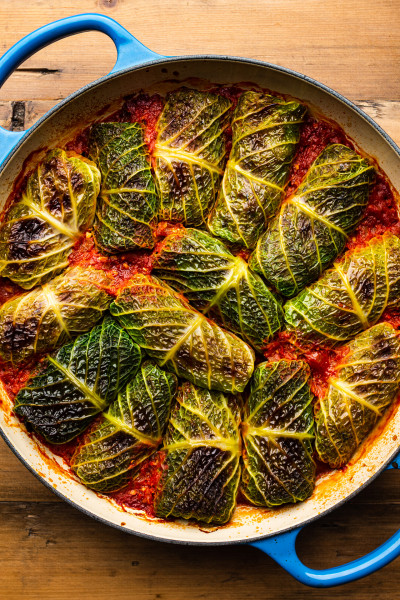
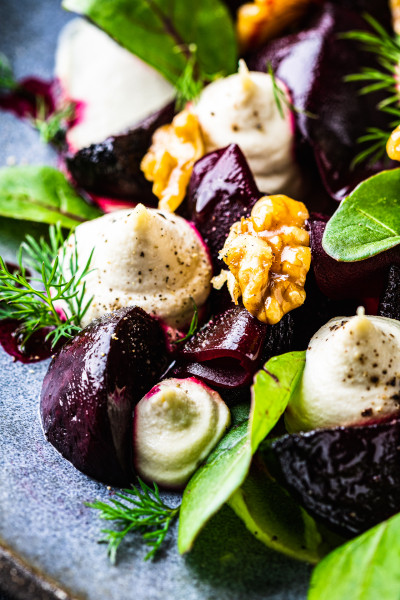
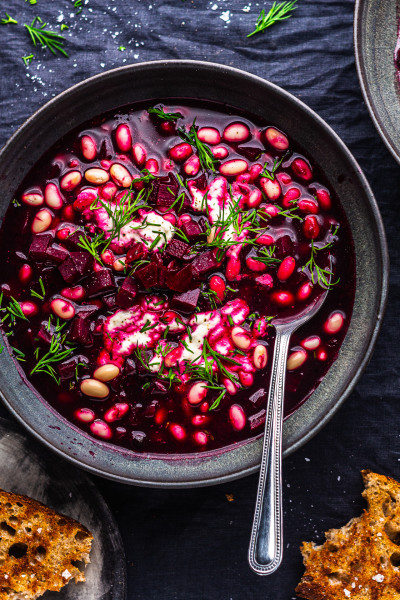
FOR OTHER FILLING ideas, try:

Thank you, I am very pleased to hear that you enjoyed these. Unfortunately, I have not tried either millet or sorghum so cannot offer you any of these as a substitute with any confidence. I made a similar recipe for ravioli with chickpea flour and I really enjoyed the texture so that could be an option? Ania
I have not tried making the dough in advance for these, but I don't foresee any issues. I have made this dough (which is similar) ahead and it was absolutely fine. I hope your 3 years old will enjoy these and not feel left out. x Ania
PS: you may also enjoy this recipe, for gluten-free ravioli dough.
Yes, I am pretty sure, but I have not tried it myself. I don't think buckwheat flour is at all prounced in these but then I am used to using buckwheat flour. Hope you'll enjoy these. Ania
I am not sure what confusion you are referring to, but yes, here in the UK buckwheat flour is made from raw buckwheat as opposed to roasted (known as kasha/kasza). I suspect that the flour you are referring to is made from kasha and if so, yes, that would make it taste very different. x Ania
Oh no, I am sorry that you've aborted the mission as it does not sound like anything went wrong at all. Psyllium husk powder is meant to turn into thick jelly - that's the point of it, it's meant to act as a biner. I simply stir some water into it with a spoon and let it sit for 10 minutes or so. I then add it to the flours with the oil and extra water and knead until the dough is nice and uniform (you could create a well in the centre of the dry ingredients and in that well combine oil, psyllium jelly and 2 tbsp water before you knead it into the flours (I didnt do that but it will make it easier to get uniformity). Also I will add a further explanation to the method as I now realise that I did not make it clear that a bit of kneading is needed. Good luck!
Yes, absolutely! In fact I made ravioli with similar kind of dough a while ago, but this version is better in my opinion. I would love to know how you get on! x Ania
Typically, I boil them, cool, freeze, thaw naturally and then pan-fry them to serve, but I am pretty sure freezing them raw would also work (I haven't tried myself though). x Ania
Thank you, I am so happy to hear that these were such a success! And the fact that you preferred it to regular wheat containing pierogi is a high praise indeed - I'm delighted. x Ania
I'm so glad you made it possibly for gluten free people to enjoy the ultimate Polish comfort food and it's great to know this recipe is here for when I want to entertain my gf friends :)
Yes, you need to cook them for 5 minutes either way and I recommend making sure they are completely cold before pan-frying. Refrigerating for a few hours helps but isn't necessary. Hope this helps! Ania
My pleasure, I hope these will turn out to be popular in your household. In terms of freezing, I have not tried freezing these ones in particular, but I don't see why they wouldn't freeze well. In order to freeze, cool them down completely and freeze in freezer bags or glass / plastic containers. To defrost, leave in the fridge (on a plate) overnight to allow them to thaw naturally and pan-fry once fully thawed. Hope this helps! Ania